Create and Manage Classes
Create a class
- Open Main Menu and select Classes.
- Select New Class.
- Enter a name for the class.
- Select OK.
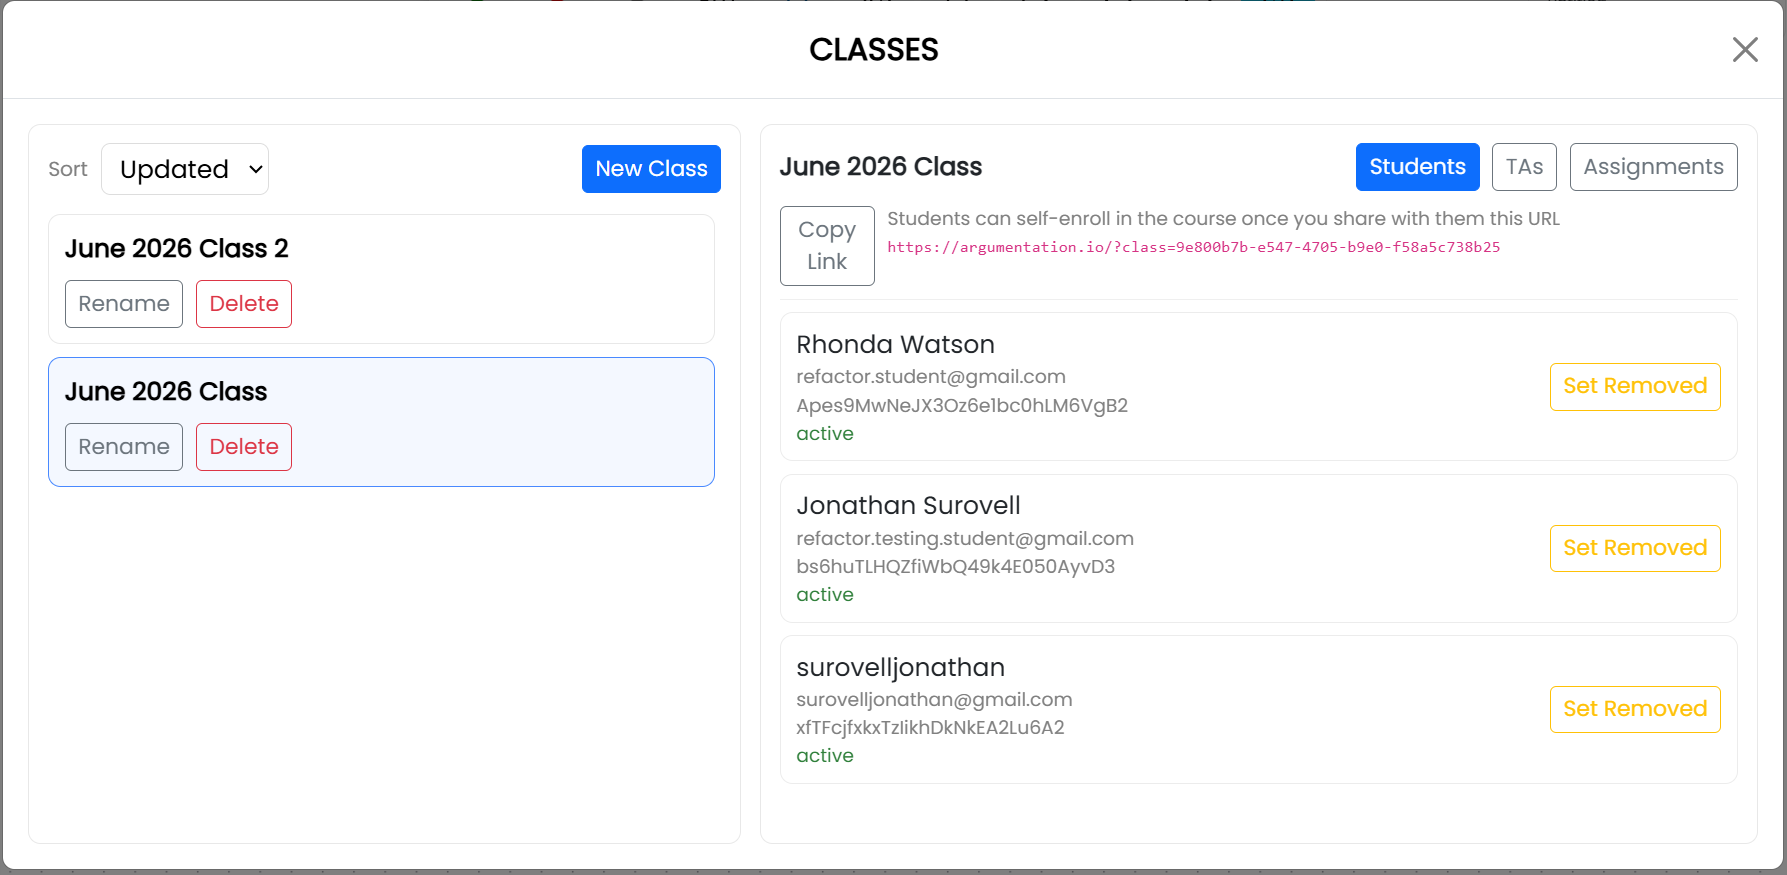
The class appears in the list on the left side of the Classes window. Select a class in that list to view its students, TAs, and assignments.
Invite students
- Select the class in the Classes window.
- Select the Students tab.
- Select Copy Link.
- Send the class-enrollment link to the students.
Students enroll themselves by opening the link. See Join a Class for the student procedure.
Manage enrolled students
The Students tab displays each student’s chosen name, account email, and status. Select Set Removed to remove a student’s access to the class. A removed student can be made active again from the same list.
Rename or delete a class
Use Rename beside a class to change its name. Use Delete to delete the class. Review the selected class carefully before deleting it.